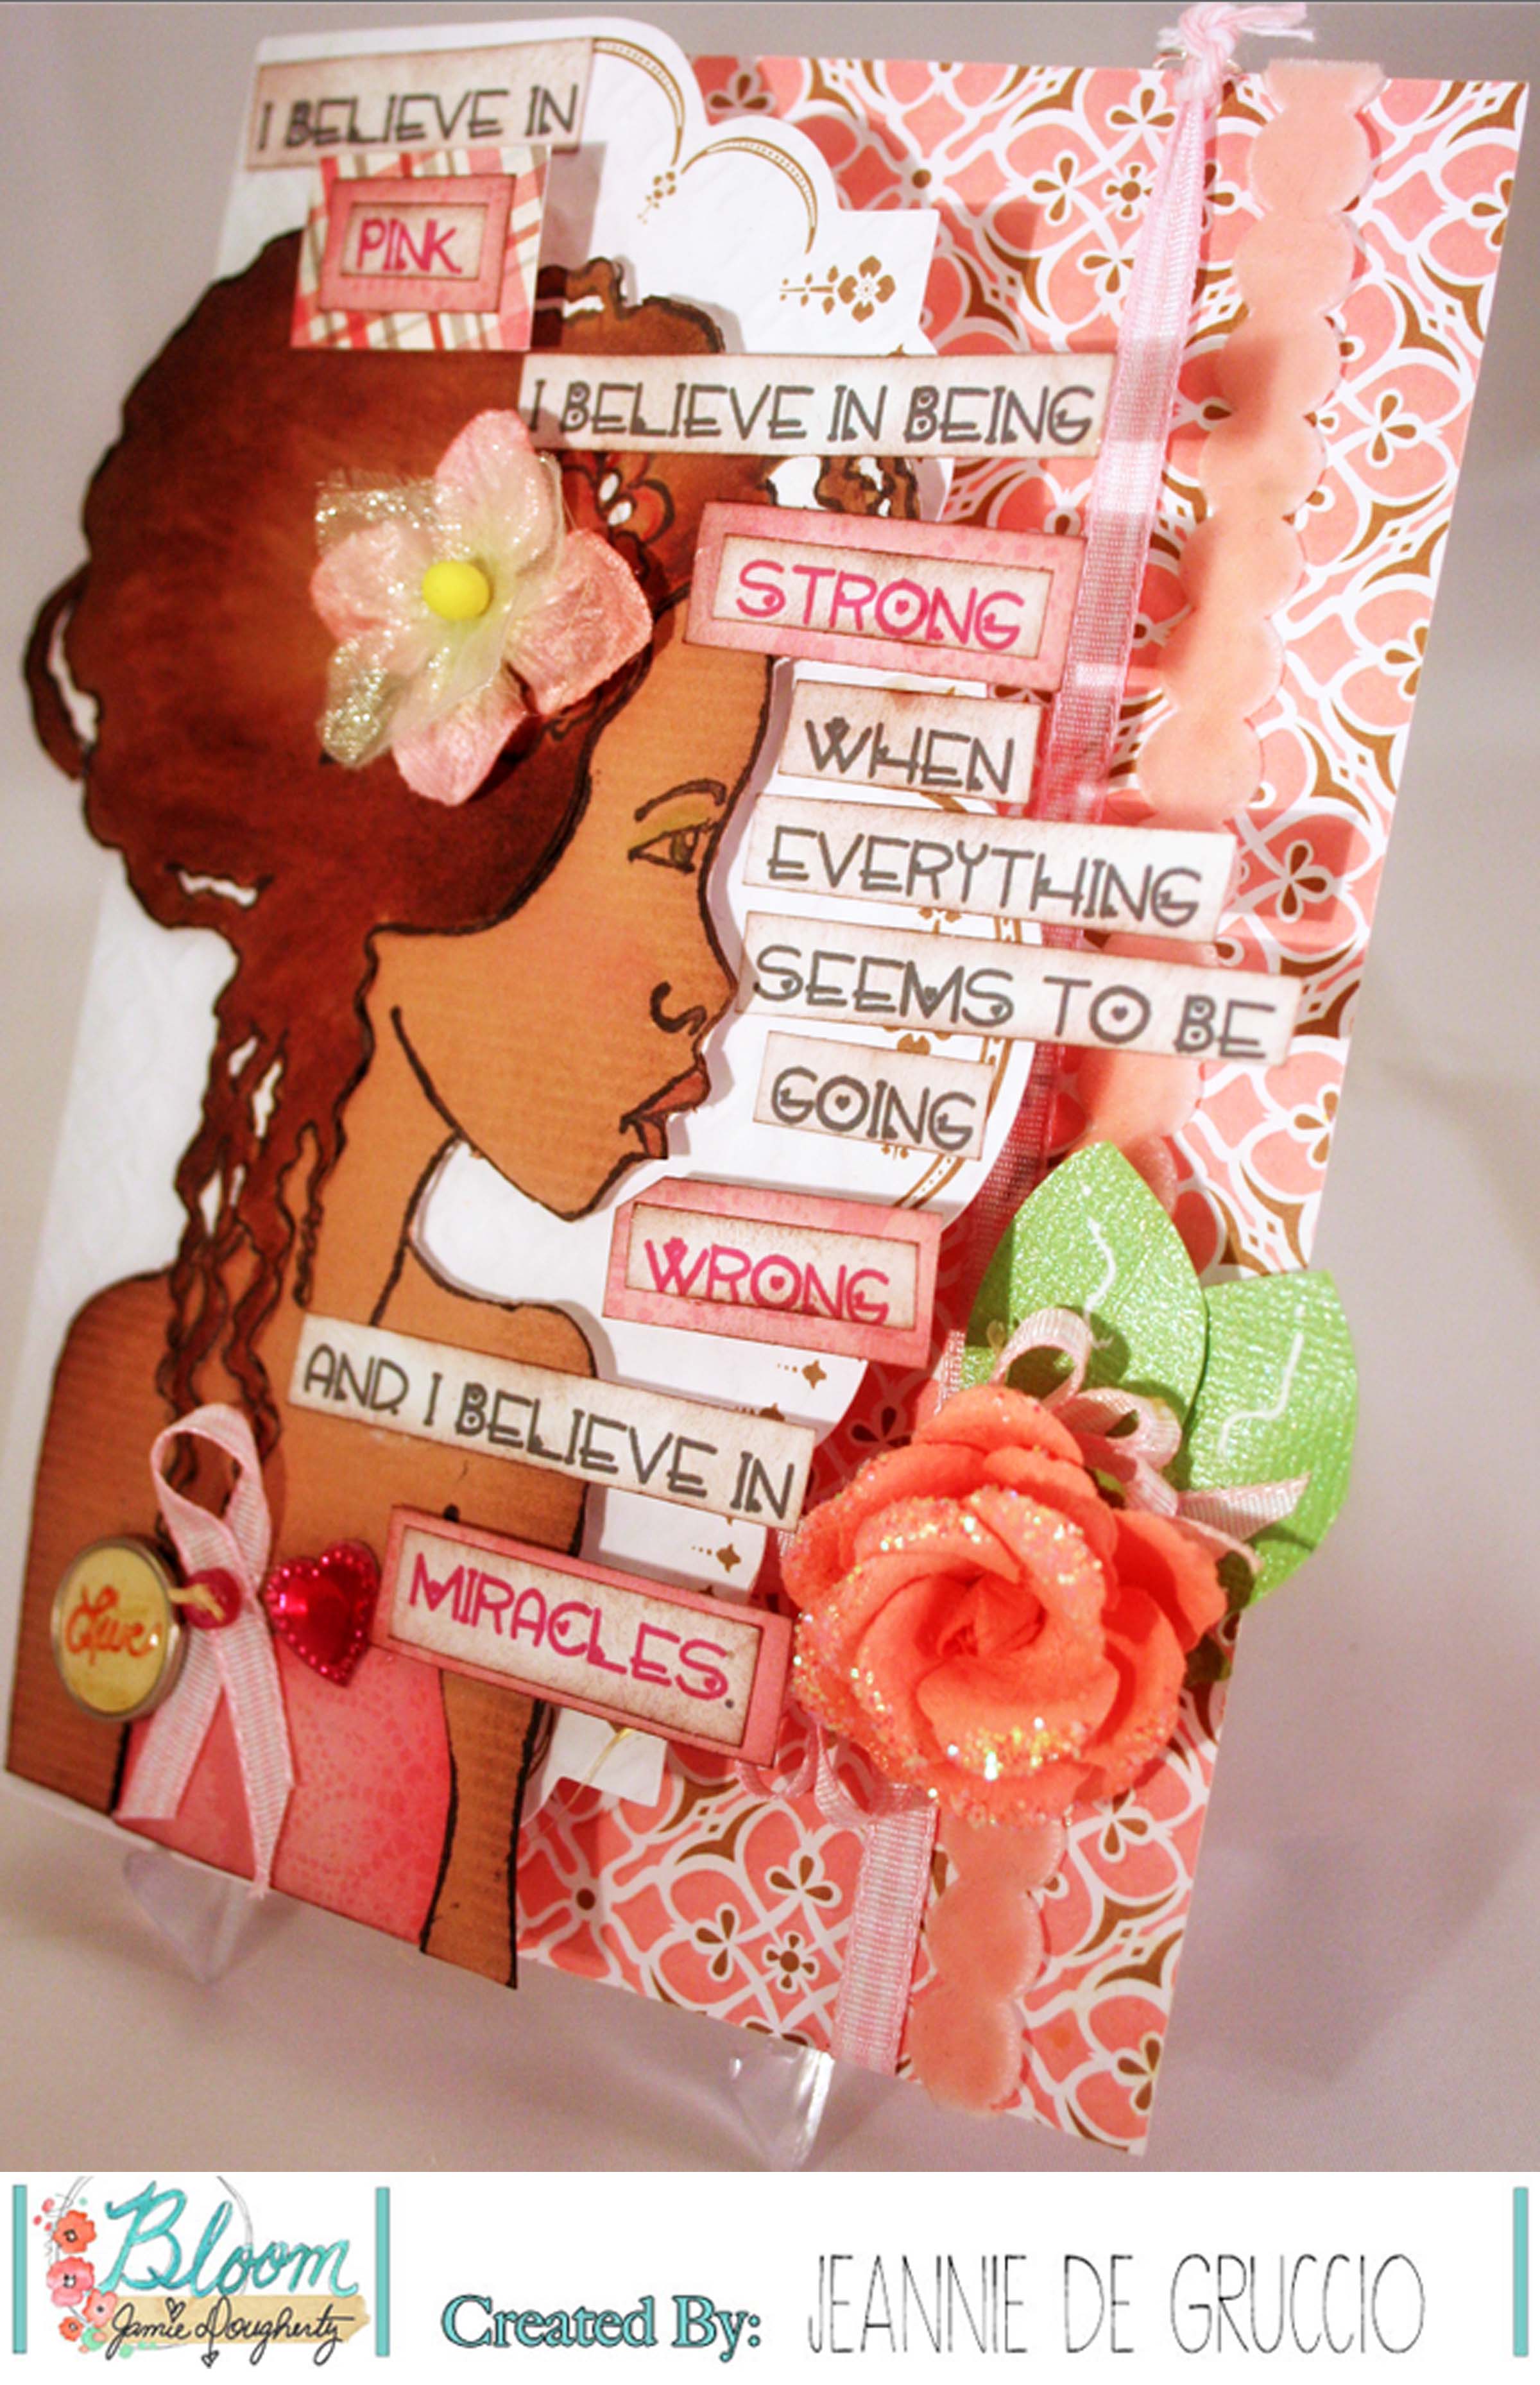
We are SO excited to present you a STRONG and BLOOMING collaboration between the Bloom Girl line by Jamie Dougherty and Westcott!
All the designers have been playing with amazing products from Westcott and we were thrilled to base our projects on the Breast Cancer Awareness campaign that is always held during October.
To celebrate this awesome opportunity, both Jamie and Westcott are doing giveaways* to one lucky winner. Nice, right?!
A couple of weeks ago I was asked if I could make a really FANCY card for an anniversary.
Hmmm, is that something I could do? Well of course!
The “husband” said, she is from a tropical place, and loves flowers and get this…LADYBUGS!!
Oh, I can do ladybug cards alright and he said I could go HEAVY on the ladybugs, so I did!
This is a Tri-Fold card, this is the front.
This is opening up the front piece.
A close up of the color papers and ladybugs;)
This is the inside of the card with his message..
This is on the card side, that is on the left of the message area.
This is on the card side, that is on the right of the message area.
This is the back of the card.
He wanted a large card. So this ended up measuring 8 1/2 x 8 1/2 inches.
What do you think. When I delivered it, he was all smiles and gave me such a nice compliment. He said he could tell by looking at the card, I really enjoy what I do.
He is right, making things, especially for others, yep, that is where it’s at!
I hope you enjoyed this special card, it really was quite a masterpiece.
Over on the Bloom Girl Design Team today I have this banner featured and how I made it. I would love for you to visit the blog and leave a comment, say hi..or just take a peek.
I have been having a ton of fun working with Prima’s Bloom Girl Stamps. There is so much you can do with them.
I hope you can stop by and visit. Have a great week.
This is my first ever post for the Bloom Girl design team!! Hooray! I am so happy!
We are going to have monthly challenges, and this is out very first one! Below you can see the inspirational colors and palette for the challenge. Go to the Bloom Girl Design Team Blog for the Challenge specifics.
I have told you in previous blog posts that I my 7 yo is currently battling Trichotillamania. You can read about it here, Trich.org. It is my preferred go to for information on this disorder.
My little one REALLY, REALLY, wants to get her ears pierced, which am totally fine with, her dad…well that is another story. He has let her know as soon as she can get the little eyelashes growing back on her eyes, she can get her ears pierced. She is TOTALLY on board with this. So, what my project here today is a calendar to help her track her progress. Every day we can still see evidence that they are sprouting, she gets a sticker.
I will probably reward her weekly, since she is young and waiting for her GRAND PRIZE(her pierced ears) will take a long time.
So, this is the 1st page for her calendar, and the words are perfect because we wants those eyelashes to “Bloom & grow”
As for supplies I used…where do I start??
The, Bloom Girl, stamp I used is called GARDENIA. The Bloom Girl Stamps are HUGE!! Be sure to invest in getting a 6″x8″ Prima Stamp Block.
Watch this thing in action here!!
Here is what the calendar looks like opened up…
Other Bloom Girl Products I used are as follows, Clear Acrylic Stamp Two, Bloom Collection Brads, Tiny Alphabet Stickers, Optimist Paper 6×6 pad and Bloom Girl Chipboard Pieces.
This was a fun project to make..not one I’d want anyone to have to make, but, you do what you have to do for the ones you love.
I hope you will join along in our challenge. I know there are going to be some fabulous projects that we will see!
Make you week a great one and do something fabulous for someone you love!!
I used an exacto knife to cut along the line for the ear, so I could make the ear more 3-d.
As you can see, for each elephant, one got to keep the tail and heart, the other is minus the tail and heart, but has it’s ear 3-D’d. I hope that makes sense.
On the base elephant, I put some dimensional foam.
The result is that you get a 3-D elephant that even stands on it’s own.
Here are all the elephants ready to go.
Next, to create the card base…I had the idea to make the white portion, mimic the sky by sewing random swirls on the paper.
Instead of cutting all the threads, I gathered them all up and taped them on the backside of the paper. By doing this the threads don’t loosen and become a nuisance.
To space the elephants, I eyeball it, before attaching them all to the paper.
After attaching everything, I added a clear Happy Birthday Sticker, and here is the final product.
This is my last post for RubberMoon as my term is up! I can’t believe the time has gone so fast. I loved working with all the creative ladies on our team and will miss working with Kristen Immensly!
I hope you have enjoyed all the things I’ve shared! Thanks for stopping by!!