Archive | Tags RSS feed for this section

Joy’s Life meets Mary Engelbreit

29 Aug
Hello everyone, Jeannie from The Polka Cabana here today with a fun gift card/tag/letter etc. idea.  I hope that some of you from Close Friends on Facebook are here to visit and get an idea of what you can also do with things you might have lying around your house.  I am on a design team for a fun site called Joy’s Life.com.
All of us on the Joy’s Life DT are working with these Swatch Tag. Swatch tags are used for lots of crafters to keep track of paper and pen color samples etc. 
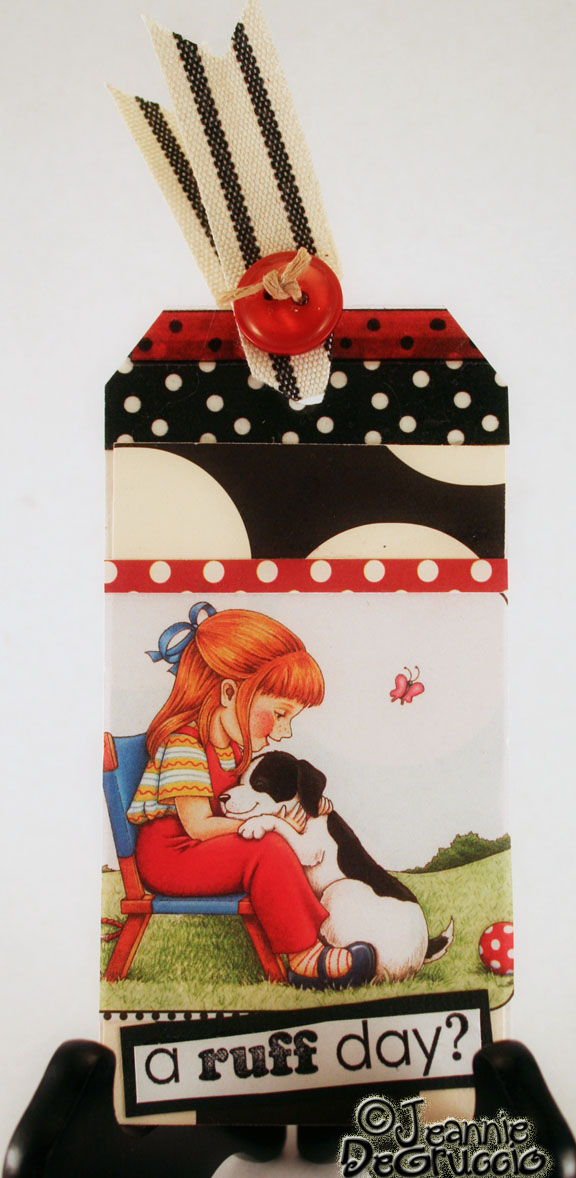
Here is my completed project.
 
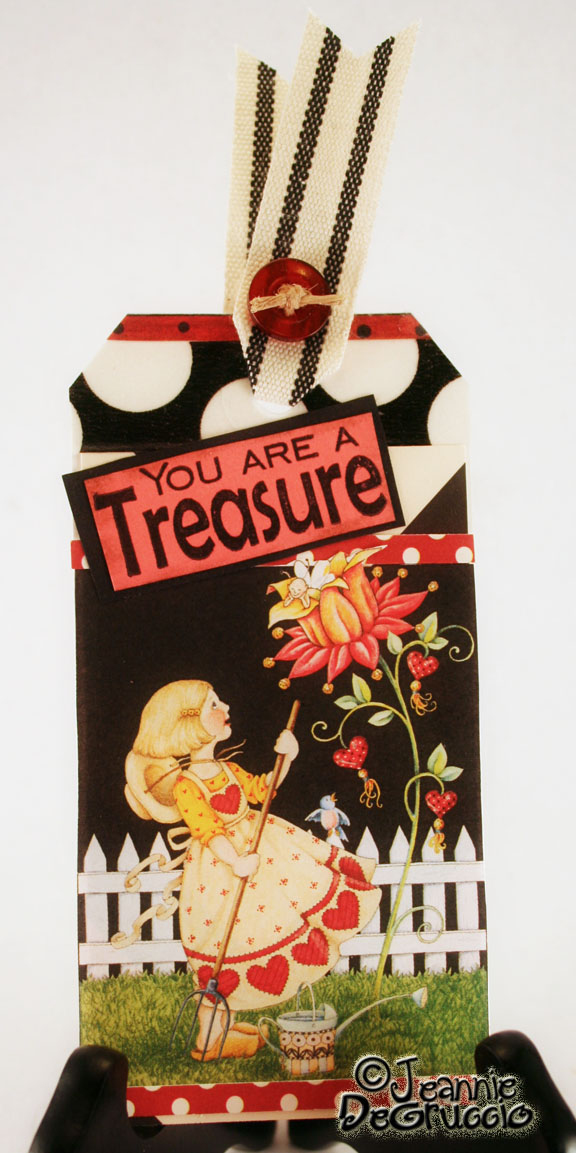
Here is a side view, these tags could be used as anything.
 
I have gathered all of mine together as a card/letter
.
 
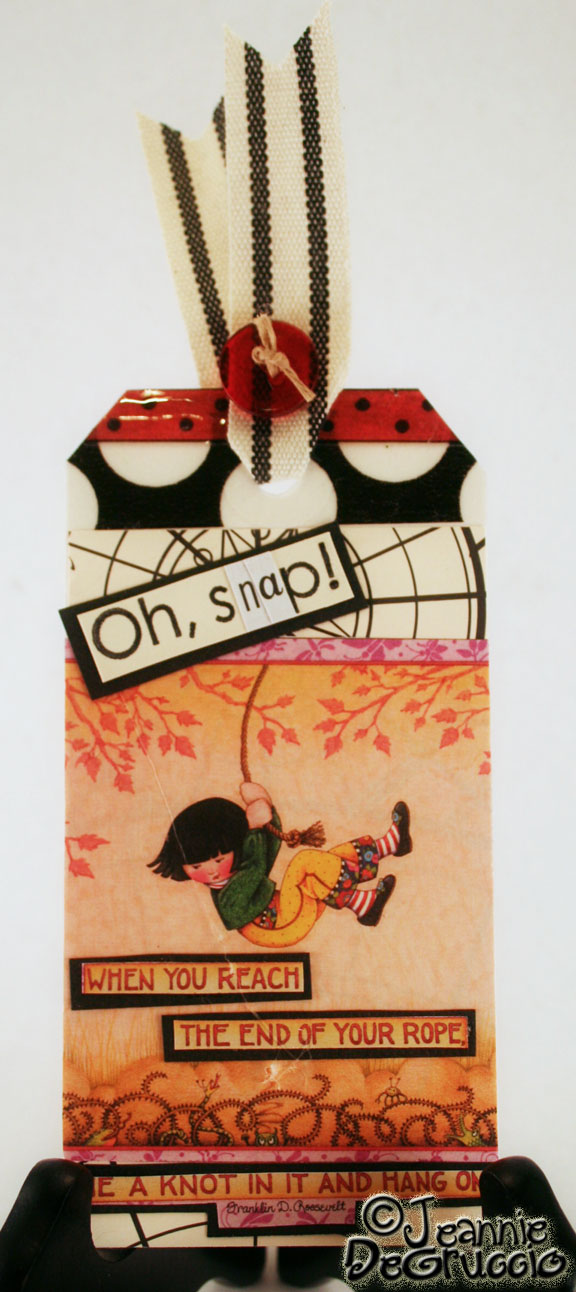
I had a lot to say, so each tag is numbered on the back to keep them in order.
 
 
I used quite a few stamp sets and had fun mixing and matching the phrases to get the exact words I needed.  That is the best thing about these stamps for me.  First there are so many phrases and then if you get creative, you can make up your own by mixing, matching and splicing! 


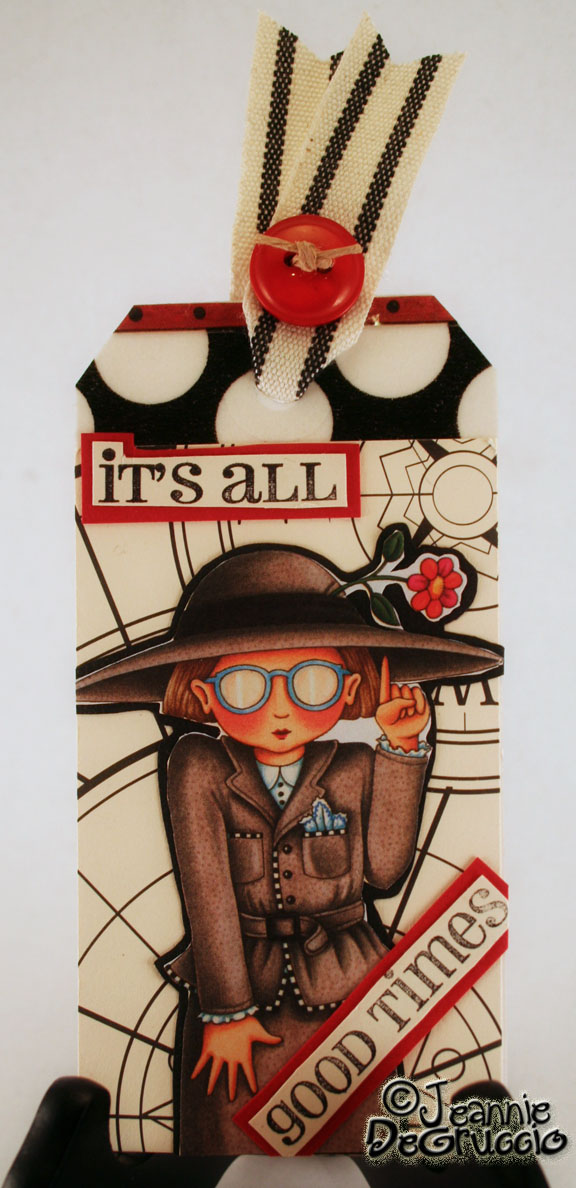
All of my images are taken from a Mary Engelbreit desk calendar.
 
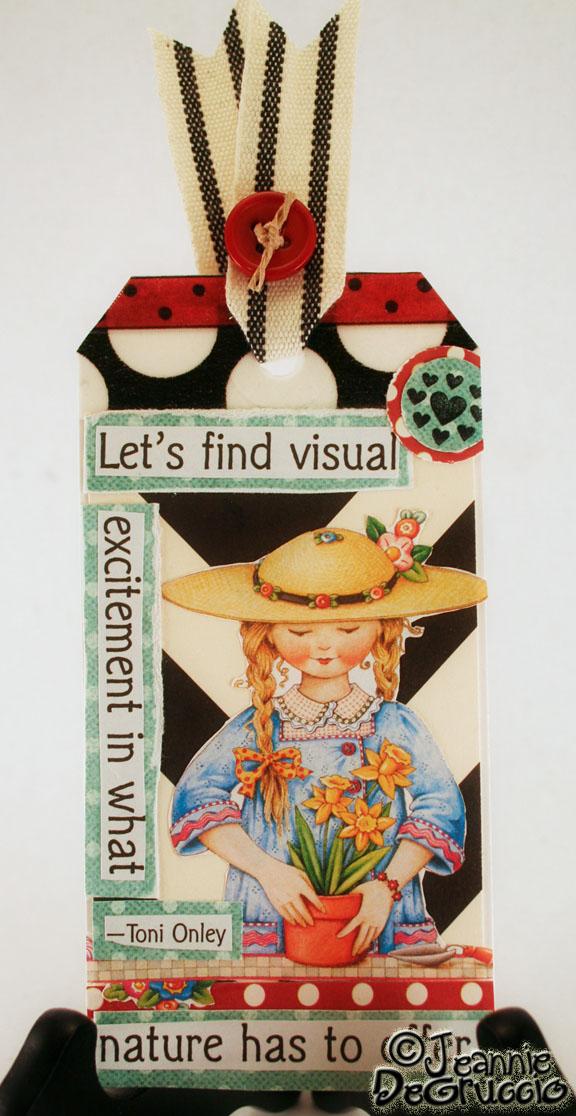
All of my fun papers are from Canvas Corp.
 
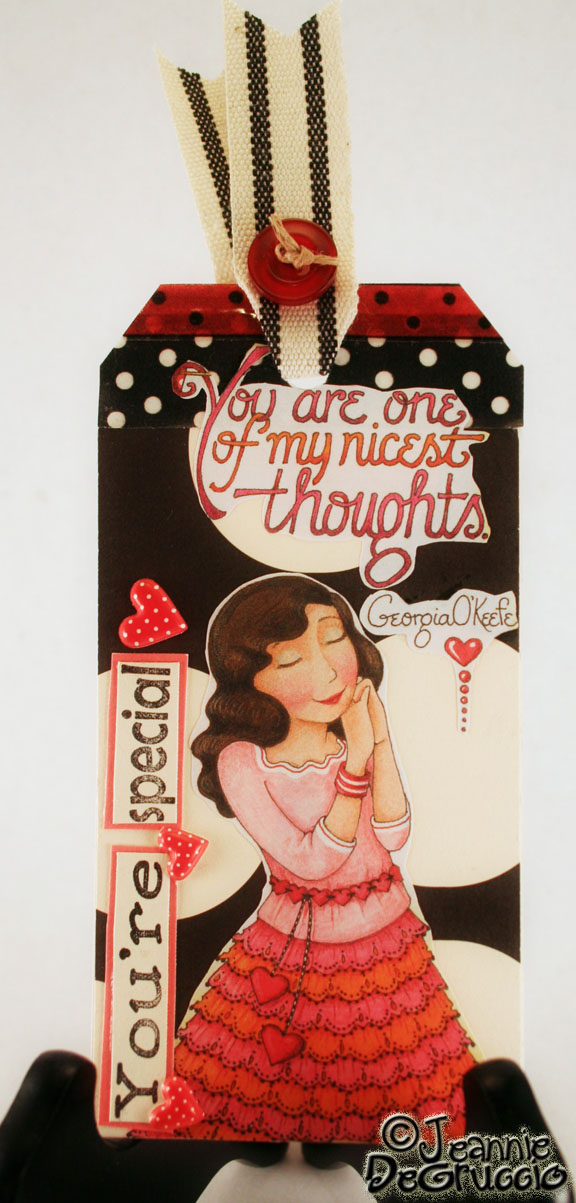
A big thank you to May Arts for my wonderful ribbon.
 
The buttons?  Are from PaperTrey Ink.
 
Isn’t it great how I was able to get some sort of sentiment for each tag I made?
 
I am so happy to have these Joy’s Life stamps, it makes projects like this so much more fun to put together.
 
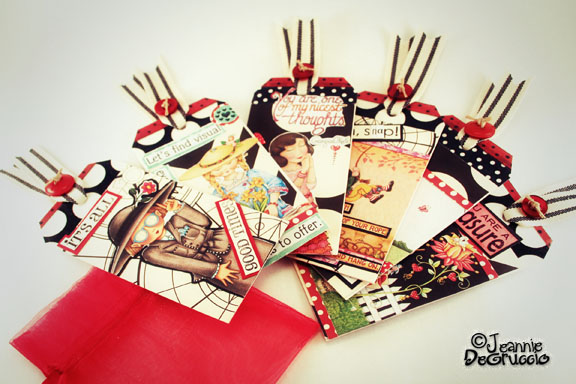
Here is a final peek at all of them together.
I hope you have liked my project for the day.
This has been Jeannie posting for Joy’s Life.com. 
A special thank you to any and all of you who have stopped by from Close Friends!

The Never Ending “Mary” Card

3 Feb
Hello there everyone…It is me Jeannie with today’s Cheery Lynn Designs post.
I am still recovering from going to CHA with Cheery Lynn Designs.  I had a blast and got to work with Cherry Lynn Designs owners, Mike and BJ Dywan, their graphic designer Viktor, and the delightful duo, Jan and Pam.
Cheery Lynn Designs was well received and I think the company had a wonderful show, it seems that everyone knows about Cheery Lynn Designs!  Hooray!
Today I am sharing a project that I have entitled the Never Ending Card.  Why? Well, I made it how the pattern said to, but I just kept adding things.
Here is the front of my card, can you see the border?  That is made from strips of the Cuties 3.
Inside the cut out square, I have the Sunflower and Ladybug showing through.
Here is a side view, the rest of the card is stored inside.
This was a very fun card to make.
The brad disguises a small piece of Velcro on the opening tab.
Here is the next level of the card.
This is so bright and colorful, I only embellished her hat and 3d’d everything else.  I used the Pretty Petal die to add dimensional flowers to her hat.
Here is the inside to the above card.
I made a pocket with another level to pull out.
Again you can see I used the Cuties 3 and the Pretty Petals to embellish the patterned papers.
This is the portion that you pull out and this houses the final part of the card.
It is a small tag that says Happy Birthday.
I have used the Fanciful Flourish, Pretty Petals and the Scalloped Squares for the tag.
Here are all the pieces..lots of pieces to make this a fun card.
All the graphics for this card are from a wonderful book I have by Mary Engelbreit.  When I ordered it, I had no idea it came with a CD that has all these graphics on it.  I will never run out now!  Hooray!
I hope you have enjoyed this, I was mainly trying to show that you can use the Cheery Lynn Designs dies to make something very cute, just a notch cuter!  I never tire of using these dies and it seems I am always finding new ways to use them
If you would like a chance to try them, why not check out the information on our challenge.  You can find all the details here.
I hope you have enjoyed today’s post, this has been Jeannie from The Polka Cabana, have a great weekend.

Tag Time Tuesday with Sweet Stamps

22 Nov

Our new challenge on the Sweet Stamps blog is such a fun one!

TAGS

I was having so much fun, I decided to make 2 tags.

I used a ton of fun things from the Sweet Stamps store.

Here are my tags.

For the Cheery tag, I used Cherries, Stickles Christmas Red, Holiday Sweet Sets, Black Pearl Pen, Pearlescent Watercolor Paints and the leaf from the Rosebuds & Leaves set.

For the snowman tag I used Mrs. Snowman, Star Ornament Die, Christmas Joy paper, Holiday Sweet SetsPearlescent Watercolor Paints, Stardust Pen and Clear Embossing Powder.

I hope you have enjoyed my post today!

If you like these tags and would like to enter the challenge and have a chance at winning a $20.00 gift certificate to Sweet Stamps.com, head on over to the Sweet Stamps blog.

**DISCLAIMER**

Large RED clothes pin is only securing the tag for the photo.  It is not meant for anything else:)  It’s late, this is my 3rd round of pics and I do not feel like a Round 4 of pictures tonight.

Have a terrific day!  Thanks for your visit and if you have time to leave a comment, I love reading every single one.  Your comments make my day.

Thank you to Canvas Corp for the adorable tags for today’s post.

Are there any Twilight Fans out there??

11 Nov
Yesterday I took a poll on whether I should do a Twilight post or a Thanksgiving post.  Although Thanksgiving won, I went with a Twilight project.  I sure hope some of you crafty ladies are Twilight fans.  It is perfectly alright to like a book and movie, right?
Besides I have daughters and one is very much looking forward to Breaking Dawn that opens in 7 days!!
I decided to something geared toward our current challenge, I did a trio of tags!
Here you can see I made a little accordion folder for all three tags.
I used quite a bit of dies on this.  For the swirls (red) I used pieces from the Lace Rose & Flourishes.
I loved working with the black and red; my two favorite colors.
The flowers you see are made from stacks of flowers from the Flower Chain Border.
Here you can see the folder folded up with all three tags .
Here is the whole ensemble.
The red pieces of paper on the folder are just odds and ends that I thought looked good, kind of like bites had been taken out of it.
A close up of the Edward and Bella tag.
The upward left corner you can see that I used the embossed the paper with the Italian Lace Doily.  There is some of this embossed paper on each tag.
A close up on the Bella only tag.
Last but not least, the Edward tag.
I used lots of dies on this project and had a ton of fun making it.
Here you go, one last look!
I hope you have enjoyed my post today.
Be sure to join us on our Tag challenge.  You can find all the details here.
This has been Jeannie from The Polka Cabana with today’s post.
Thank you to:
Dies used in today’s post.