Mary Engelbreit meets {ippity}, Polka style!!
9 May- Comments 6 Comments
- Categories All occasion, Cards, Die Cuts, GRAFIX, I HEART {ippity}, Mary Engelbreit, Metallic Foil Board, Momenta, My Inspiration, Polka Dot, Unity, Unity Stamp Co.
I Heart {ippity} Wednesday Wowzer
18 AprRate this:
Tags: Bee, cabana, Chick Challenges, I HEART {IPPITY}, jeannie, metallic foil, Sketch, Sketch Challenge, Unity, We're Better Together, {ippity}
- Comments 2 Comments
- Categories All occasion, Better Together, Cards, Chick Challenges, Custom Made, Design Team Challenge, Die Cuts, GRAFIX, I HEART {ippity}, Metallic Foil Board, Simply Home, Unity, Unity Stamp Co., Vellum
New Cheery Lynn Designs Challenge, are you in?
5 DecWe have a new challenge to tempt you with on the Cheery Lynn designs website.
SILVER & GOLD
Click HERE to see all the important info regarding how to enter.
I made the following, in less than 30 minutes last night.
The tree layers are made from the French Pastry Doily.
The background I used the Rectangle Stitch Tool and the Eccentric Circle Embossing plate.
If you’d like to join our challenge, head on over to Cheery Lynn designs and check out the details!
http://cheerylynndesigns.blogspot.com/2011/12/cheery-lynn-designs-challenge-5-silver.html
Have a great Monday!
Rate this:
Tags: Cheery Lynn Designs, GRAFIX ARTS
- Comments 2 Comments
- Categories Cards, Cheery Lynn Designs, Christmas, GRAFIX, Metallic Foil Board
Holiday gift and Decor with Authentique Paper
28 NovRate this:
Tags: Altered Frame, Authentique Paper, Holiday Decor, Home Decor, Wonder
- Comments 2 Comments
- Categories Authentique Paper, Christmas, Cricut, Custom Made, Design Team Challenge, GRAFIX, Home Decor, Metallic Foil Board, SVG, Technique, Tutorial, Wonder
Sweet Stamps Red, Green & Gold Challenge
8 NovWell it is time for another Sweet Stamps challenge.
This one is pretty easy!
Red, Green and Gold.
I used the Strawberry Border Large and the Flower Tree embossing folder for this card.
You might wonder if the Strawberry Stamp is really so small?
The Strawberries you see here are at about 50% of their actual size.
I stamped the image on to some Grafix Arts Shrink Film and then shrunk the images after I colored and cut them.
The shiny red and green metallic papers are also from Grafix Arts called Metallic Foil Board.
I also made this adorable ring with the Strawberry Border Large and Shrink Film.
This is my little 4 year old’s hand.
The ring is a bit tricky to make..but isn’t it the cutest thing?
Here are some different angles.
See the tiny Strawberries? Remember these are about 50% of their actual stamped size.
I hope you have enjoyed today’s post. I love trying to create things that will inspire you.
Be sure to check out the Sweet Stamps blog to see the other Design Team Members Red, Green & Gold projects.
Join our challenge and be entered to win a $20.00 certificate to the Sweet Stamps store.
Have a great day!
Rate this:
Tags: GRAFIX ARTS, Metallic Foil Board, SHRINK FILM, Shrinky Dinks, Strawberries, Sweet Stamps
- Comments 8 Comments
- Categories All occasion, Canvas Corp, Cards, GRAFIX, Metallic Foil Board, Rubber Stamping, Shrink FIlm, Strawberry, Sweet Stamps
What happens when Authentique Paper and Tally Scrapper collide?
17 AugWhen Authentique Paper and Tally Scrapper collide, you get ME creating cards for a Tally Scrapper Challenge with all Authentique Paper, of course!
I had to post these pictures.
When I am making things, my kids are always right there by my side.
They have learned to ask if certain papers and supplies are for a “COMPANY” because if so, that means Do Not Touch!
I was busy making a set of 4 card for a Challenge on my favorite scrap place, Tally Scrapper.com
My little one saw me working with these tiny beads and said she wanted to do one. Normally I would tell her, “No, it’s a mommy job”, but for some reason today, I said, “Ok, you can try.”
I was floored that she was able to thread that tiny glass(seed) bead on the thread.
After, the first one, she just kept wanting to help.
I told her to “point” to the bead she just did, can you see it? The card we working on is card #3 in this post today.
Card #1
I should tell you the challenge I made these for on Tally Scrapper can be found here: http://www.tallyscrapper.com/scrapbook_gallery_challenge.php?category_id=2&challenge_id=1235
For this card I used my Authentique Paper – Glowing Hours stamp.
It was hard to get a good image of this since the chandelier is stamped on a shiny silver paper.
I dangled beads from it to accentuate the stamp.
I added spots of clear glass beads and the flower is made from a really old piano book I had a duplicate of.
Card #2
I had done a blog post about this one already.
https://polkacabana.wordpress.com/2011/08/10/i-heart-ippity-keep-it-simple/
I was going to gather the paper. I did the basting stitch and loved how it looked all 3D, so I did not squish it down to complete the gathered look.
Here is a close up of the rippled ribbon paper.
That cute butterfly is from {ippity} Stamp’s, Thankful for You.
Card #3
I added a lot of little extras to this one.
Some exquisite fibers from my sweet mom’s things…
Some lace I gathered and sewed on the front, corrugated paper and finished off with a custom flower.
Card #4
This card is just delightful to me. Those are the glass beads my princess was helping me with.
That gorgeous butterfly is a Cheery Lynn Design die called, Exotic Butterfly Medium #2. The silver in the back is cut from coordinating Cheery Lynn Designs Die called: Medium #1 Angel Wing. This die cuts the perfect background layer for the Cheery Lynn Designs Exotic Butterflies.
I added some extra dangling beads to make the card really stand out.
Don’t you think this is beautiful?
Let me know what you think of all today’s cards.
Here they all are together.
UNCOMMON is such a wonderfully fun line to work with.
There you have it…my pretties for today!
I hope you have enjoyed today’s post as much as I enjoyed making these cards to show you all!
Have a great Thursday…more fun stuff tomorrow with Cheery Lynn Designs and Cord’inations Paper! YEAH!!!!!!!!!!!!!!
Rate this:
Tags: Authentique Paper, Cheery Lynn Designs, Embossing Folders, Glass Beads, Rubber Stamping, Tally Scrapper, Twine, Uncommon, Unity Stamps, {ippity}
Grafix Arts…have you tried this stuff?
1 AugI have been using Grafix Arts supplies a little here and there in my recent posts.
Here is a look at the items I am talking about.
These projects that you might have already seen, I have used either FUNKY FILM or the METALLIC FOIL BOARD.
The FUNKY FILM is what really shimmers in these projects and has a bit of pattern, whereas the METALLIC FOIL BOARD has no pattern.
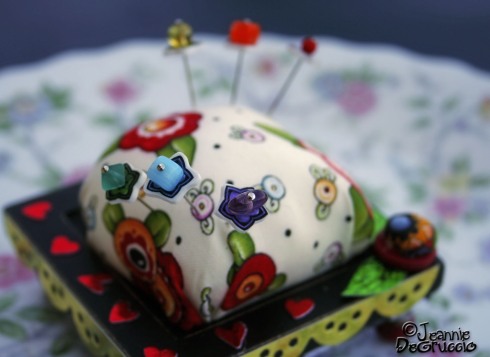
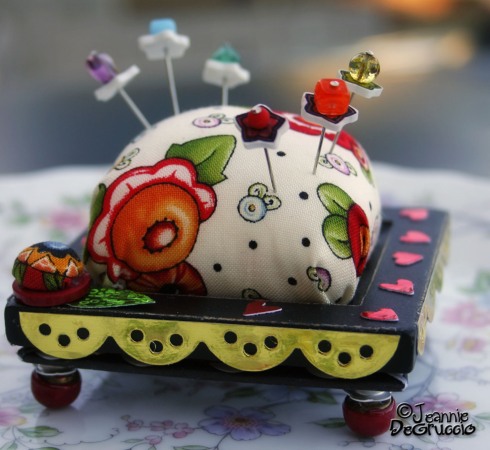
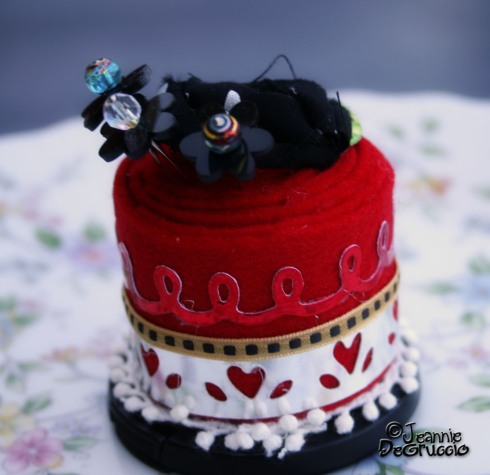
Now let’s move on to my current projects. My first projects, these mini pin cushions utilize the following products:
FUNKY FILM, METALLIC FOIL BOARD and SHRINK FILM.
This pin cushion is made from a tiny picture frame.
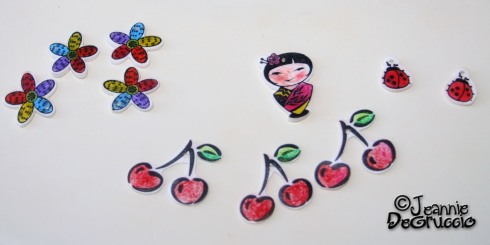
I made these adorable head pins with stamps and the SHRINK FILM.
The stamps here are from the My Time Made Easy, SO FORTUNATE set.
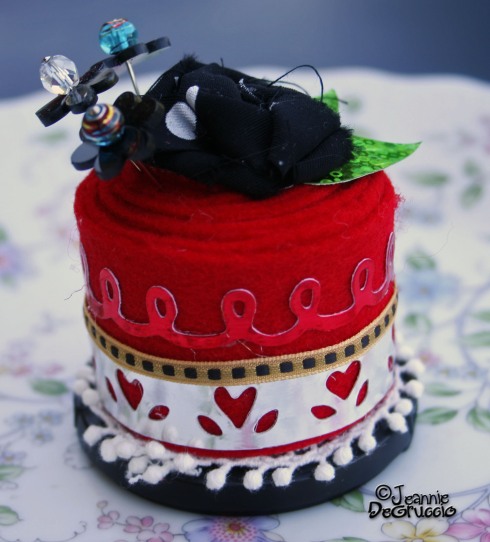
This next pin cushion I had seen made on The DIY Dish.
These headpin flowers are made with a die cut, BLACK SHRINK FILM and glass beads.
The embellishments around both are a mixture of FUNKY FILM and METALLIC FOIL BOARD.
This next project utilizes GRAFIX ART’S SHRINK FILM.
Again I am using some stamps from the My Time Made Easy SO FORTUNATE set.
The black flowers are a stamp from an {ippity} set called FLOWERS FRIENDS PRICELESS.
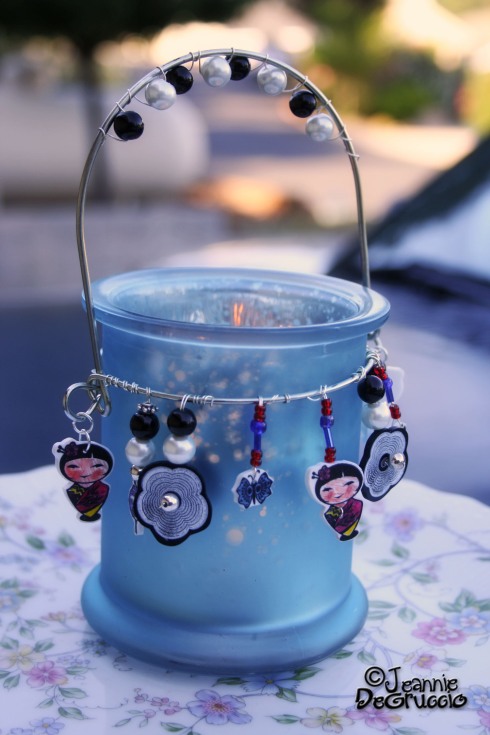
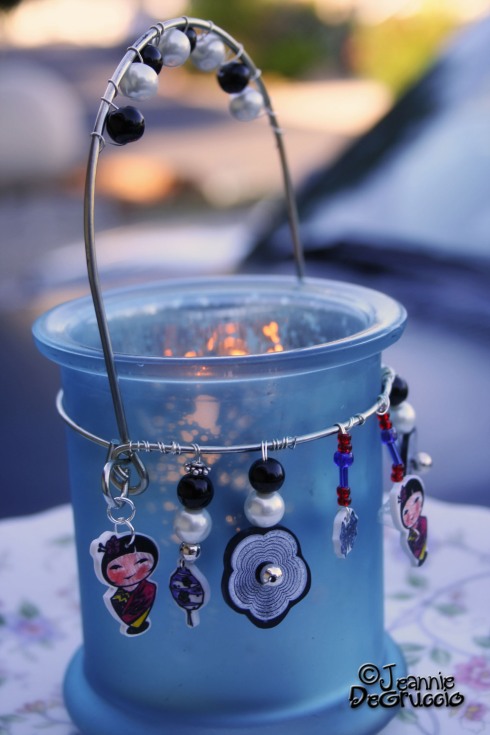
Again using glass beads to embellish and everything is attached with jewelry findings and wire.
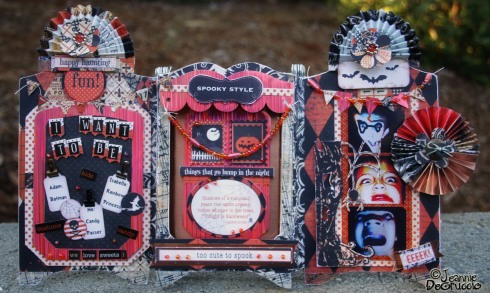
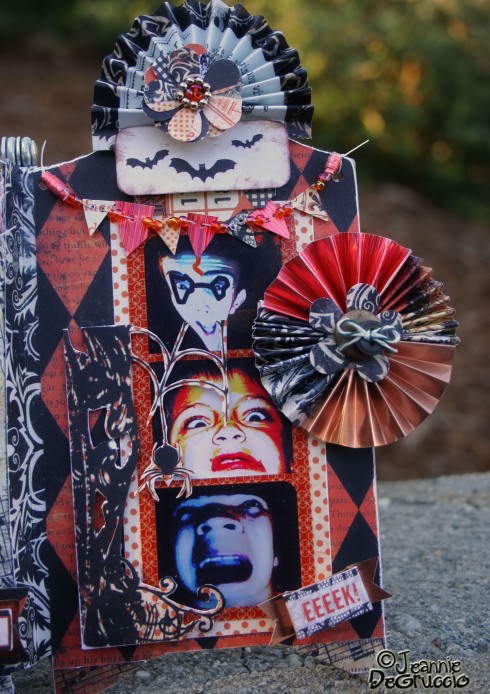
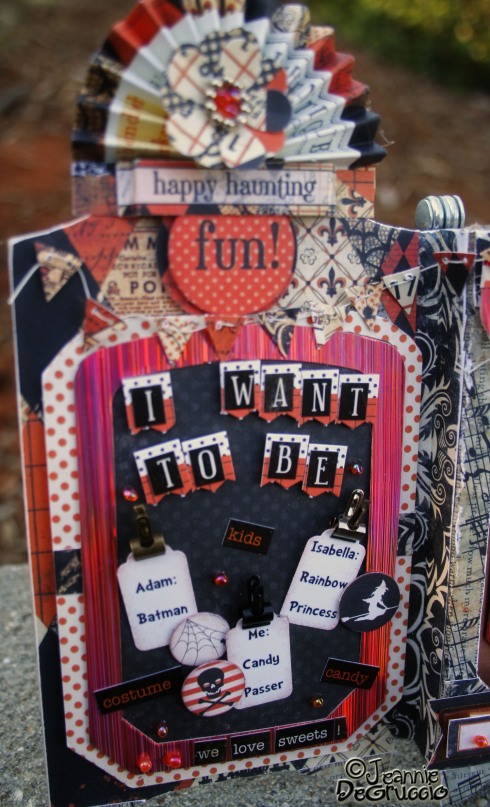
Next is a Halloween decoration.
The base, is a HUGE diecut and is all done with GRAFIX ARTS CHIPBOARD.
This project stars the newline of paper by AUTHENTIQUE PAPER called GLOWING.
Using FUNKY FILM in the COPPER BRUSH and PEACH RAIN colors that went perfectly with the GLOWING line.
Lots of beads, mini banners and lots of sparkle from the FUNKY FILM make this a delight to look at.
Look at that PEACH RAIN FUNKY FILM, isn’t it gorgeous?
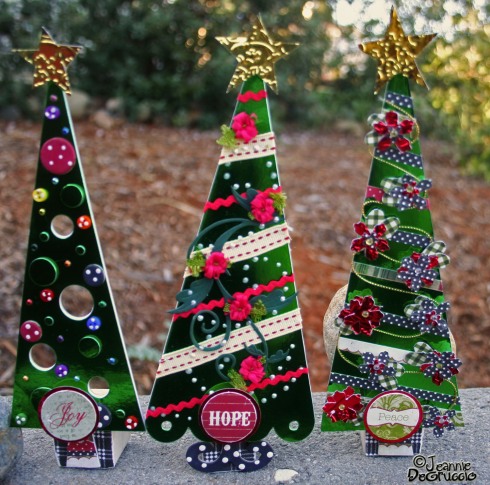
This Christmas Holiday decoration was made with METALLIC FOIL BOARD and die cuts from GRAFIX ARTS CHIPBOARD.
The CHIPBOARD is very sturdy and the FOIL BOARD is gorgeous when embossed, see the stars?
I accented these with AUTHENTIQUE PAPER’S WONDER line.
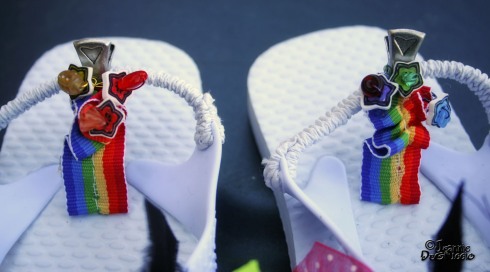
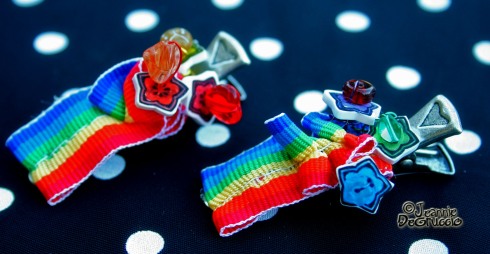
Here we have a little ensemble of rainbow fun.
I have used the same stamps and SHIRINK FILM as mentioned earlier.
Up close picture of the hair barrettes.
Close up of the shoes.
These barrettes are so bright and fun!
My daugher LOVES them!
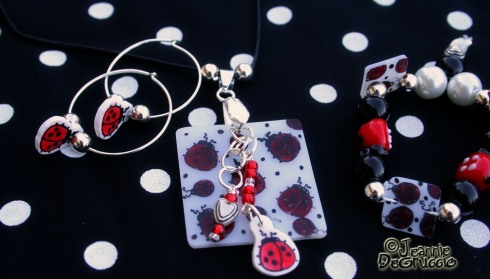
Here is a jewlery set fit for a princess or ladybug loving mom like ME!
I used some miscellaneous stamps on hand and SHRINK FILM.
There are so many endless possibilities with the SHRINK FILM.
Close up of the ladybug SHRINK FILM tile.
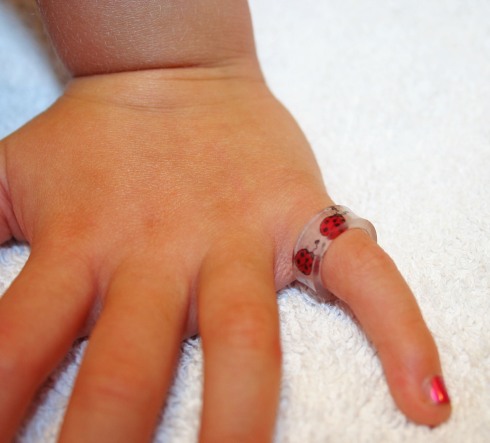
Oh, and look at this TINY ring I made!!
Can you believe how precious that is?
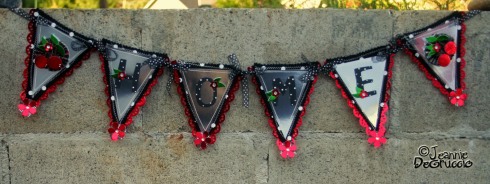
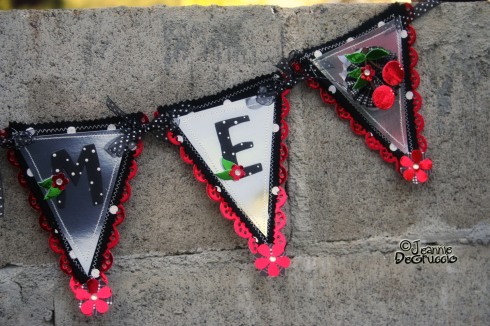
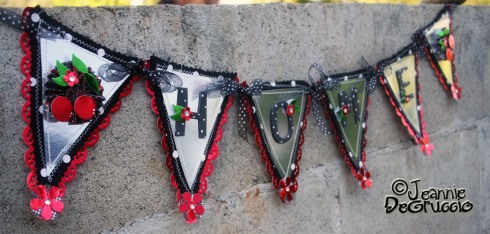
Here we have a banner that shows off GRAFIX ARTS METALLIC FOIL BOARD.
I mixed the foil board and material for a really unique looking banner.
I love the die cut fruit and flowers with the FOIL BOARD.
Very eye catching and colorful!
I used the FOIL BOARD and die cut the trim for all these banner pieces and then adhered the borders with hot glue.
I think the trim gives this an added sweetness, agree?
One more look!
I ran out of time..so here are some GRAFIX ARTS SHIRNK FILM stars, you might see in an upcoming project!!
If you have not visited the GRAFIX ARTS website, you have got to take a look at all their unique projects!
There is a store locater on the website and also a link to purchase things online.
Let me know which project featuring the GRAFIX ARTS supplies you enjoyed the most and thank you so much for browsing!
Have a TERRIFIC monday!
Rate this:
Tags: Authentique Paper, Grafix, GRAFIX ARTS, I HEART {IPPITY}, My Time Made Easy
- Comments 8 Comments
- Categories All occasion, Authentique Paper, Cherries, Chipboard, Christmas, Custom Made, Die Cuts, Funky Film, GRAFIX, Home Decor, I HEART {ippity}, Lady bug, Metallic Foil Board, My Time Made Easy, Rainbow Project, Rubber Stamping, Sizzix
I Heart {ippity}, I really do!
27 JulI adore all DT’s I am on and the I Heart {ippity} team has been so much fun.
Already I feel like I have some life long friends and I know I would adore them all in person.
As for the stamps? So much fun!
Today I am using a stamp from the set called
Isn’t this a great set?
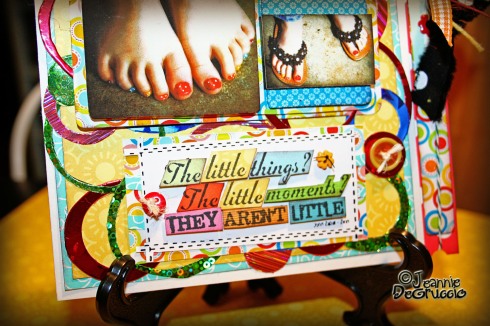
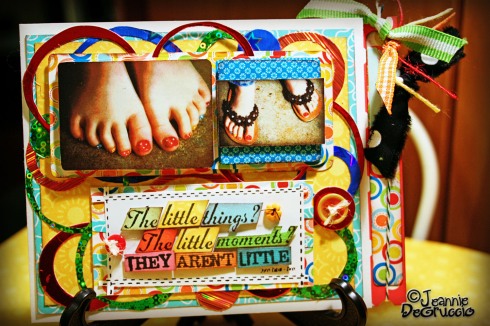
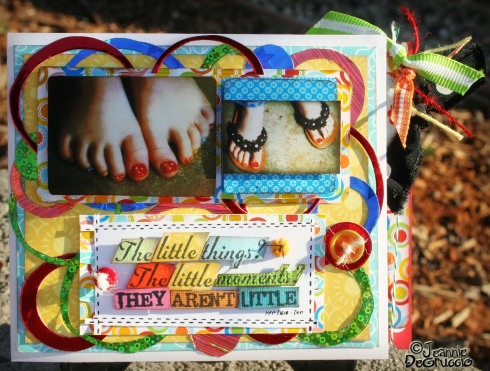
Here is what I came up with.
This was taken at night..I never seem to finish my things in daylight anymore. So I got up today and took a daylight picture too!
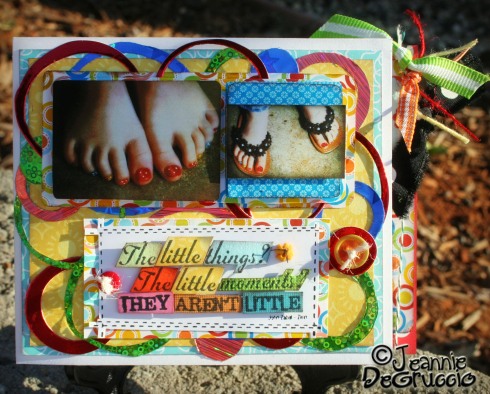
I really focused on circles because I want to enter this into the Circles Circles challenge on The Unity Stamp Co. website.
The picture on my card is a hand-made MOO card.
Moo’s are usually one-dimensional, but I printed my items out separately so I could layer the card.
I thought the image of my little angels toes went perfectly with this phrase.
I had so much fun making this card.
I made a delightful mess I am sure Candace would faint if she saw!
Again I have used lots of products from GRAFIX ARTS.
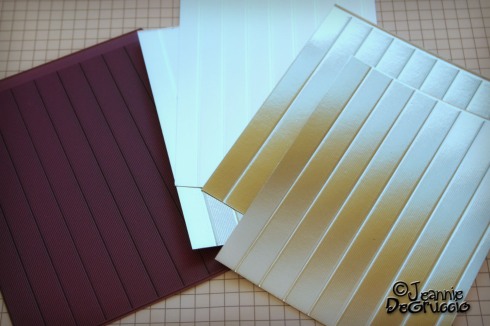
I used some FUNKY FILM and some METALLIC FOIL BOARD on the background circles.
I adore these products. They give my cards and scrapbook projects an extra flair and shimmer!
Now let’s talk about winners!!
This is for my I Heart {ippity} card from last week, this one:
I had 8 delightful comments and one wonderful lady was really so sweet to respond and leave comments for all my requirements & you know..that INCREASES your chances (hint….hint!)
I did the random.org number generator and here are the results:
Comment #8 was from:
 This works out very nicely for me as I already have things I need to send her!
Thank you Donna for being such a loyal friend and supporter of the things I do!!
Would you like a chance to WIN this weeks card? Here are my requirements!
Here is the process:
For each one of the requirements you complete you get one entry, leave a comment for each requirement you completed.
1 – Leave a comment here on my blog telling me your favorite {ippity} stamp set.
2 – Become a follower of my blog
3 – Go over to http://www.iheart-ippity.blogspot.com/ and leave a comment saying JEANNIE sent you over
4 – Become a follower of http://www.iheart-ippity.blogspot.com/
5 – Share on your Facebook page (button is right below the end of this post)
6 – If you are one of my TALLY SCRAPPER sisters..just let me know with your Tally name!! You get a bonus entry!
That’s it! Up to 6 chances per person to win today’s card! You must leave a NEW comment for each requirement you complete, like Donna did last week.
Good Luck..I will announce the winner in my next I Heart {ippity} post!
Rate this:
Tags: Grafix, I HEART {IPPITY}
- Comments 3 Comments
- Categories All occasion, Cards, Contests, Custom Made, Cutie Kids, Design Team Challenge, FREEBIE, Funky Film, GRAFIX, I HEART {ippity}, Metallic Foil Board, MOO, My Inspiration
Friday Fun with Cheery Lynn Designs and Grafix Arts
21 JulRate this:
Tags: Cheery Lynne Dies, Die Cuts, Flowers, Grafix
- Comments 6 Comments
- Categories Cheery Bloom Tutorial, Cheery Lynn Designs, Cutie Kids, Design Team Challenge, Die Cuts, Funky Film, GRAFIX, Metallic Foil Board, My Inspiration, Technique, Tutorial
Contact Me
FOLLOW ME
GRAB MY BADGE!

Copy and Paste Code
<a href="https://polkacabana.wordpress.com/" title="Polka Cabana"> <img src="https://polkacabana.files.wordpress.com/2010/05/try-also.gif" width="150" height="150" alt="Polka Cabana" style="border:none;" /></a>
ADVICE

Follow me on FACEBOOK
Browse by category:
- .png (12)
- 7 gypsies (1)
- A little bit of Washi (1)
- ABC (2)
- Action Wobbles (2)
- Alien (2)
- All occasion (168)
- Altered (9)
- Angel (5)
- Anniversary (1)
- ATC (5)
- Authentique Paper (88)
- Baby (5)
- Banners (11)
- Be Brave (2)
- Beautiful Clear Stamps (3)
- Because of You (4)
- Ben Franklin (9)
- Better Together (2)
- Better Together (1)
- Big & Wild Things (1)
- Big Idea (3)
- Big Shot (10)
- Birthday (7)
- Birthday Girl (1)
- Blinkie Service (2)
- Blissful (2)
- Blog Hop (36)
- Bloom Girl (8)
- Blue (4)
- Bob the Tomato (4)
- Book Reviews (6)
- Born of My Heart (2)
- Bubbles (1)
- Bulletin Board (1)
- Butterfly (18)
- Buttons (43)
- Cable Car Red (3)
- Call Me (2)
- Candi (3)
- Canvas Bag (1)
- Canvas Corp (35)
- Card Class (2)
- Card Tricks (1)
- Cards (240)
- Cards for Clients (5)
- Carefree (2)
- Celebrate (5)
- Challenges (3)
- Cheery Bloom Tutorial (4)
- Cheery Lynn Designs (166)
- Cherries (23)
- Chick Challenges (7)
- Chipboard (4)
- Christmas (16)
- Christmas (13)
- Church Stuff (1)
- Classes (2)
- Clear Scraps (7)
- Contests (55)
- Core' dinations (9)
- Cottage Cutz (1)
- Cotton Candy (1)
- Craft Containers (4)
- Craft Work Cards (3)
- Creations By Julie (2)
- Cricut (21)
- Cuppy Cakes (1)
- Custom Made (68)
- Cutie Kids (39)
- Deena Zielger (13)
- Delightful (1)
- Design Team Challenge (192)
- Devoted (2)
- Diction (6)
- Die Cuts (110)
- Digi (35)
- Dirty Scraps (1)
- Dixie Pieces (1)
- Dolls (1)
- Doodlebug Designs (1)
- Dream a Little Dream (2)
- Easter (6)
- Echo Park (6)
- Elephant Gardens (4)
- Embossing Folders (4)
- Embossing Glitter (6)
- Embossing Powders (13)
- Embossing Powders (13)
- Epiphany Crafts (6)
- ETSY (20)
- Fabulous Girl (1)
- Fairy (12)
- Fancy Dress (6)
- Father's Day (1)
- Flowers Friends Priceless (5)
- Free Bird (14)
- FREEBIE (28)
- Friendship (6)
- Friendship Rainbow (3)
- Funky Film (4)
- Gardenia (3)
- Gathering (8)
- Gel A Tins (22)
- Genuine (5)
- Ginger Scraps (1)
- Giveaways (4)
- Glittered Roses (1)
- Glittered Roses (1)
- Glowing (3)
- Glowing (8)
- GRAFIX (26)
- Gratitude (3)
- Green (6)
- Groovy Chicks (4)
- Gurnsey Gingham (4)
- Halloween Greetings (2)
- Happy (1)
- Happy Are Those (1)
- Helmar Adhesives (1)
- Holiday Wreath (1)
- Home Decor (26)
- Hope (3)
- Hope (1)
- Hybrid (1)
- I HEART {ippity} (69)
- If it's Groovy (10)
- Imaginisce (2)
- Inchie Arts (1)
- Indigo (3)
- Jean Claude and Philippe Pea (6)
- Jerry Gourd (1)
- Jessica Weible Illustrations (4)
- Jewelry (1)
- Jimmy Gourd (1)
- Journey (4)
- Joy's Life (19)
- KAISERCRAFT (2)
- Karlie (1)
- KOM – May 2012 (1)
- Lady bug (13)
- Larry the Cucumber (2)
- Latter Day Saint (1)
- Let your Heart Take Flight (3)
- Lindsay Ostrom (5)
- Lindsay Ostrom (2)
- Linnie Blooms (1)
- LLC (1)
- Loads of Love (2)
- Lots Of Puns (2)
- Love (17)
- Love Knots (2)
- Madame Blueberry (2)
- Madame Blueberry (4)
- Mantel Project (3)
- Mary Engelbreit (18)
- Masculine (4)
- May Arts (2)
- Mementoes In Time (1)
- Metallic Foil Board (9)
- Miracle (6)
- Mojo Monday (9)
- Momenta (11)
- MOO (2)
- Mushroom (12)
- My Cup of Tea (5)
- My Inspiration (48)
- My Kitchen To Yours (2)
- My Paper Tree house (4)
- my Stamp Box (1)
- My Time Made Easy (6)
- New Season (5)
- New Wonder (5)
- New Year (1)
- Noteable (2)
- Orange (2)
- Organization (1)
- Pa Grape (1)
- Pain & Strength (1)
- Paper Faces Design Team (8)
- Paper Isssues (8)
- Paper Issues (1)
- PAPERFACESDESIGNS (8)
- Pet Shop (4)
- Pink (9)
- PK GLITZ (4)
- Polka Dot (58)
- Practical Scrappers (1)
- Pratical Scrappers (2)
- Preggo Good Luck (1)
- Prima Marketing (3)
- Product Reviews (2)
- Pun in the Sun (4)
- Rainbow Project (15)
- Random info (3)
- Red (5)
- Relief Society (1)
- Rhinestone Hues (6)
- Rub-onz (1)
- Rubber Stamping (56)
- RubberMoon Stamps (13)
- Sale (1)
- SCAL (11)
- School (1)
- Scrap Street (1)
- Scrapbook Page Classes (1)
- Scrapbook Pages (25)
- Shop Card (1)
- Shrink FIlm (10)
- Simply Home (5)
- Simply Stacie (8)
- Sizzix (21)
- Smitten (1)
- Something Groovy (1)
- Song Inspirations (2)
- Sophie (1)
- Splendid (5)
- Spring (2)
- St. Jude Children's Hospital (1)
- State Line Bag Co. (1)
- Straight from the Heart (3)
- Strawberry (4)
- Studio Aloha Designs (2)
- Sucks To Get Old (2)
- Sugar & Spice (3)
- Suzy West (7)
- SVG (15)
- Sweet Cakes (6)
- Sweet Popsicle Puns (3)
- Sweet Stamps (53)
- Tags (4)
- Tally Scrapper (21)
- Tally Scrapper Monthly Kit (10)
- Tatiana (2)
- Technique (15)
- The Lollipop Press (10)
- The Paper Rabbit (1)
- The Produce Aisle (1)
- Therese Travis (1)
- THERESETRAVIS.NET (11)
- Thoughts (2)
- Tiffany'd Doodles (1)
- Tiffany's Doodles (9)
- Time for Friends & Wine (5)
- Tiny Types (4)
- Too Many Ideas Blog (5)
- Tribute (9)
- Tuesday Trio (11)
- Tutorial (17)
- Uncategorized (27)
- Uncommon (6)
- Unity (39)
- Unity Stamp Co. (36)
- Valentine (4)
- Veggie Tales (10)
- Vellum (1)
- Vellum (3)
- Video (1)
- Violet (3)
- Washi (5)
- Washi this Love (1)
- Wedding (1)
- Westcott (1)
- Where You Should Be (1)
- Wild Things (2)
- Wonder (9)
- Word Art (7)
- WOW (15)
- WOW Embossing Powders (12)
- Yellow (7)
- You make me mushy (1)
- You're So Punny (1)
- Your Friendship (4)
- Your Friendship My Cup of Tea (1)
- YOURSCRAPBOOKSUPPLY (3)
- Yummy Puns (3)
- Zentangle (2)
- Zip Dry (2)
- {ippity} (40)


